Apparently schools have gotten a bit less parent friendly since my kids were in. A friend's kindergartner wanted to dress as Sauron (the bad guy from Lord of the Rings) for "Dress Like a Book Character" day at school. This whole day seems like a big undertaking for families with small children. Apparently my friend thought the same thing which is why she enlisted my help.
I started out with this toy Army helmet from the dollar store. ($1)
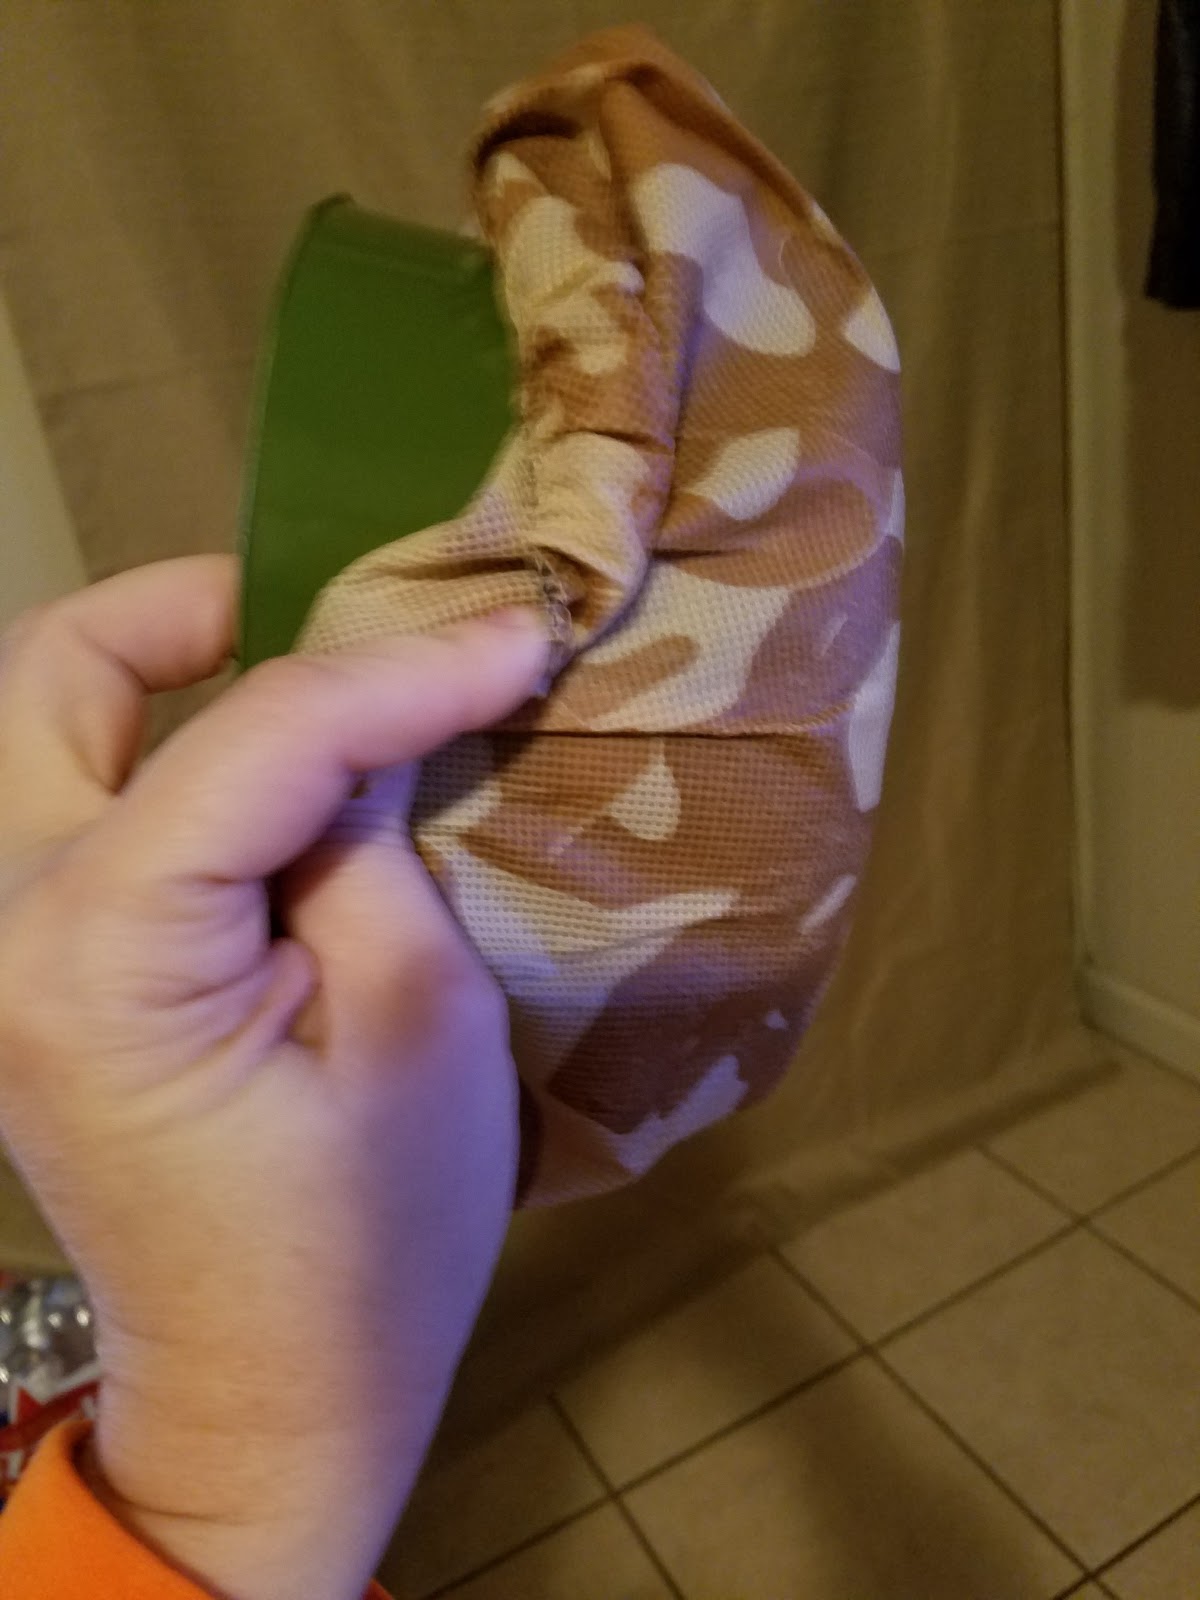
The cloth cover was just glued on. The plastic surface was so smooth that the glue pulled off with very little coaxing.
Once the cloth was removed, I cut the bent out rim off with scissors.
I got 2 sheets of fun foam from Michael's for .99 each ($2)
I started out with the nose piece. I folded the foam in half and cut a rough shape, then trimmed it down.
I have a foam head that I used as a reference to line up the eyes etc. Using chalk I outlined the helmet around where the eyes would fall and cut out the area with scissors. I cut out 2 more shapes from the fun foam as you can see below. I glued the foam together making the nose piece bump out a bit. Then glued them to the helmet.
Because the helmet is so smooth I applied hot glue to tack things in place then I used E6000 glue because it's a lot stronger bond. For everything not touching the helmet I just used hot glue. ( I already had both glues, so I didn't count it in my final price)
Two more pieces were cut to finish off the eyehole area.
Then two more large pieces to cover the sides of the face.
I cut slits in the side...
...then overlapped and glue them together to make it shape around the helmet.
It's starting to look like something finally.
More slits around the top.
These I cut wedges out of a little bit at a time, pulling them together to check until they fit just right.
These I glued together at the raw edges. Then I glued them to the helmet.
I added a fairly tall piece that covered the back of the helmet, but just the length of the helmet. Then went through the same process of cutting wedges into the foam and gluing them. The top had a big open spot which I covered in a circle of foam. I added a V to the front to add some depth. I popped it out a bit. You'll see why in a bit.
I gave the outermost face pieces a more character with some cuts. I didn't have them exactly even and in hindsight I would have paid more attention. I adjusted it a little later on by gluing one side up a little higher. It did make the mask pull a little to one side, but it wasn't too noticeable.
Here is where the V being popped out comes into play. I took some cardboard from a clothes iron box. Using my metal ruler I bent the pieces of cardboard around it to make a straight crisp (as crisp as cardboard gets) fold.
The ruler also acted as a way to make the blades the same width. I wish I'd taken a picture of this step. The blades are each 2 rulers wide with a fold in the middle. I made 4 of these.
On the folded side of the cardboard I cut an arch then glued the edges of the arch together. On the opposite side I cut another arch in the same direction about the shape of the helmet.
I tucked the first blade into the V above the nose then eyeballed the rest of them place them evenly around the top.
I made some eyebrow shaped pieces, using a lid for a pattern. These were glued above the eyes, to hide the jagged helmet a little better.
I then added swirls of hot glue on the outer four pieces of the mask. Not the nose piece or any of the top pieces.
I used a Rubbermaid tote as a paint booth, because I rent and didn't want to get any backspray on anything. Also, it was sprinkling out that day. I sprayed quickly the brought it inside to dry with a fan. Probably not the best idea, but I had limited time.
This is the paint I used. It's one of my favorite things. It adds texture and makes it look pretty realistic. ($7)
Using a paper towel I applied this Rub 'n Buff in ebony in a few spots. A little goes a long way, so start small. ($3 I had a 40% coupon at Hobby Lobby)
This gave the helmet a weathered look. I think it came out pretty awesome!
I found these knee pads at the dollar store, when I was getting the helmet. ($2)
I used chalk to trace around a cake pan on each knee pad, to make this shape.
Thn cut at the chalk line...
...to make these 2 pieces.
By the time I got to the shoulder pieces I had forgotten to take pictures until it was done.
For the spikes I cut long thin triangles and glued the outer edges together leaving the upper third unglued. Which gave me a sort of arrow shape. I made 10 arrows.
For each shoulder, I glued the two pieces of knee pad together as you can see below. I then glued the arrows to them, with the glue seam facing down.
Like the mask I spray painted then distressed with Rub 'n Buff.
The arrows kept bending so I ran a bead of glue down the arrow head part to make them a little more sturdy and straight.
I glued the shoulders onto a t-shirt in the kiddo's size ($4 yay Walmart)
JoAnne's had a 60% off coupon. I found this stretchy metallic black fabric for $9.99 a yard . I got 1/2 yard and cut that in half lengthwise. ($2 for 1/2 yard of fabric with coupon).
I had some heavy duty sticky back velcro from a different project. I attached a long strip across the back of the t-shirt then just stuck the fabric to the other sticky side, making pleats as evenly as possible. I pressed on it pretty hard, to make sure everything was attached well.
Final Price
1 Helmet $1
2 Sheets Fun Foam $2
Spray Paint $7
Rub 'n Buff $3
2 Knee Pads $2
1 Shirt $4
1/2 yd Fabric $2
_____________________
Total $21